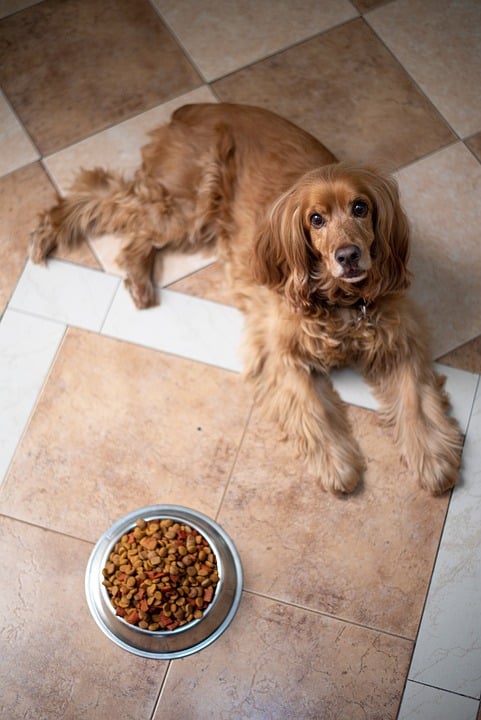
Treat Time: Innovative and Enticing Dog Treat Recipes to Spoil Your Furry Friend
A dog is not just a pet; it is a part of the family. And just like any member of the family, your furry friend deserves to be spoiled and treated from time to time. One of the best ways to indulge your canine companion is by making homemade dog treats. Not only are they healthier and more delicious than store-bought alternatives, but they also allow you to customize the ingredients according to your dog’s preferences and dietary needs. In this article, we will explore some innovative and enticing dog treat recipes to spoil your furry friend.
1. Peanut Butter and Banana Bites:
Ingredients:
– 1 cup whole wheat flour
– 1/2 cup rolled oats
– 1/4 cup peanut butter (make sure it is free of xylitol, which is toxic to dogs)
– 1 ripe banana, mashed
– 1/4 cup water
Instructions:
1. Preheat your oven to 350°F (175°C).
2. In a large bowl, combine the whole wheat flour and rolled oats.
3. Add the peanut butter, mashed banana, and water to the dry ingredients. Mix well until it forms a dough.
4. Roll the dough out on a lightly floured surface to a thickness of 1/4 inch. Use a cookie cutter to cut out bite-sized treats.
5. Place the treats on a baking sheet lined with parchment paper.
6. Bake for 20-25 minutes or until golden brown.
7. Allow the treats to cool completely before serving to your furry friend. Store any leftovers in an airtight container.
2. Chicken and Sweet Potato Jerky:
Ingredients:
– 2 boneless, skinless chicken breasts
– 1 large sweet potato, washed and peeled
Instructions:
1. Preheat your oven to 200°F (95°C).
2. Slice the chicken breasts into thin strips, about 1/4 inch wide.
3. Cut the sweet potato into thin slices of similar thickness to the chicken strips.
4. Place the chicken and sweet potato slices on separate baking sheets lined with parchment paper.
5. Bake in the oven for 2-3 hours, or until the chicken is fully dried and crispy.
6. Allow the treats to cool before giving them to your dog. Store in an airtight container in the refrigerator for up to two weeks.
3. Tuna and Catnip Balls:
Ingredients:
– 1 can of tuna in water, drained
– 1 cup whole wheat flour
– 1/4 cup catnip
– 1/4 cup water
Instructions:
1. Preheat your oven to 350°F (175°C).
2. In a large bowl, combine the drained tuna, whole wheat flour, catnip, and water. Mix well until it forms a dough.
3. Roll the dough into small balls, about the size of a marble.
4. Place the balls on a baking sheet lined with parchment paper.
5. Bake for 15-20 minutes, or until the treats are firm and slightly golden.
6. Allow the treats to cool completely before giving them to your furry friend. Store any leftovers in an airtight container.
4. Cheesy Pupsicles:
Ingredients:
– 1 cup plain Greek yogurt
– 1/2 cup shredded cheddar cheese
– 1/4 cup fresh parsley, chopped (optional)
Instructions:
1. In a bowl, mix the Greek yogurt, shredded cheddar cheese, and chopped parsley until well combined.
2. Spoon the mixture into ice cube trays or silicone molds.
3. Freeze for at least 3-4 hours, or until the pupsicles are completely frozen.
4. Serve the frozen treats to your pup on a hot day for a refreshing snack.
Now that we have explored some delicious dog treat recipes, let’s answer some frequently asked questions about homemade dog treats.
FAQs:
1. Can dogs eat peanut butter?
Yes, most dogs can enjoy peanut butter as a treat. However, it is essential to ensure that the peanut butter you use does not contain xylitol, as this sweetener is toxic to dogs. Stick to plain, unsalted peanut butter to be safe.
2. Are these dog treats suitable for all dogs?
While these treat recipes use commonly available and safe ingredients, it is always important to consider your dog’s specific dietary needs and any allergies they may have. If your dog has any health concerns, it is best to consult with your veterinarian before introducing homemade treats into their diet.
3. How long can homemade dog treats be stored?
Homemade treats generally have a shorter shelf life than store-bought treats, as they do not contain any preservatives. It is advisable to store them in an airtight container in the refrigerator and use them within 2-3 weeks. Alternatively, you can freeze them for longer storage.
4. Can I substitute ingredients in these recipes?
Absolutely! These recipes are designed to be customizable based on your dog’s preferences and dietary needs. You can replace certain ingredients with alternatives that suit your dog better. However, always ensure that the substitute ingredients are safe for dogs to consume.
5. How often should I give my dog homemade treats?
Homemade treats should be given in moderation as part of a balanced diet. While they provide a fun and indulgent experience for your dog, it is important not to overfeed them with treats, as it can lead to weight gain and other health issues. Always consult with your veterinarian to determine the appropriate treat frequency for your dog’s specific needs.
In conclusion, treating your furry friend with tasty homemade treats is a wonderful way to show them love and care. By using simple and healthy ingredients, you can create innovative and enticing dog treats that will delight your dog’s taste buds. Remember to always consider your dog’s specific dietary needs and consult with your veterinarian if you have any concerns. So, make treat time a special occasion and spoil your furry friend with these delicious recipes.

